——
#DonLucElectronics #DonLuc #SparkFunRedBoard #Movement #9DOF #Accelerometer #Magnetometer #Gyroscope #Arduino #Project #Fritzing #Programming #Electronics #Microcontrollers #Consultant
——
——
——
——
Roll, Pitch, and Yaw
How is Controlling an Airplane or Robotic Different than Controlling a Car or Boat?
Stability and control are much more complex for an airplane, which can move freely in three dimensions, than for cars or boats, which only move in two. A change in any one of the three types of motion affects the other two.
Imagine three lines running through an airplane and intersecting at right angles at the airplane’s center of gravity.
- Rotation around the front-to-back axis is called Roll.
- Rotation around the side-to-side axis is called Pitch.
- Rotation around the vertical axis is called Yaw.
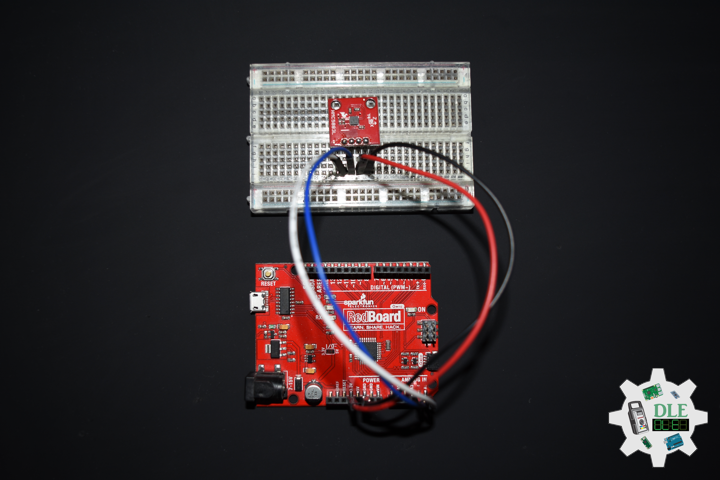
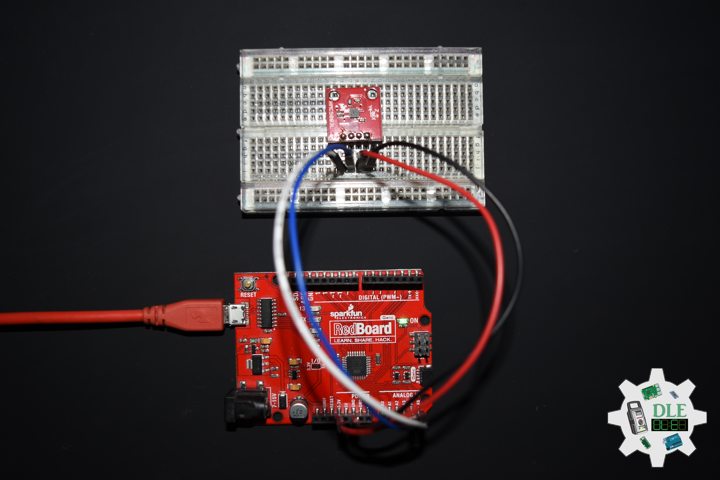
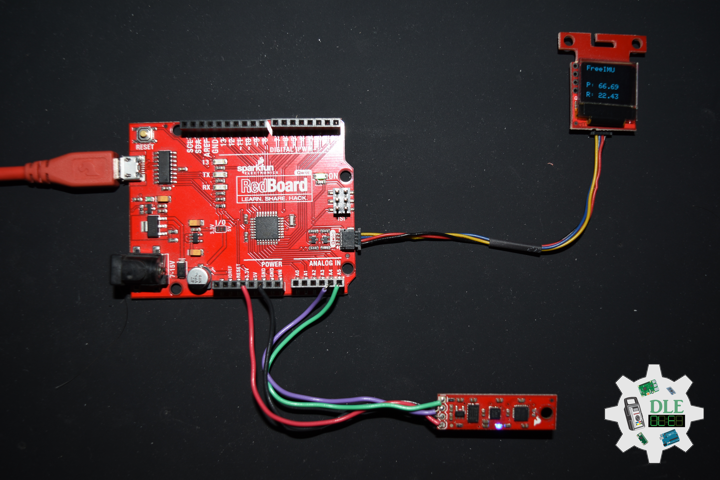
SparkFun 9 Degrees of Freedom – Sensor Stick
The SparkFun 9DOF Sensor Stick is a very small sensor board with 9 degrees of freedom. It includes the ADXL345 accelerometer, the HMC5883L magnetometer, and the ITG-3200 MEMS gyro. The “Stick” has a simple I2C interface and a mounting hole for attaching it to your project. Also, the board is a mere allowing it to be easily mounted in just about any application.
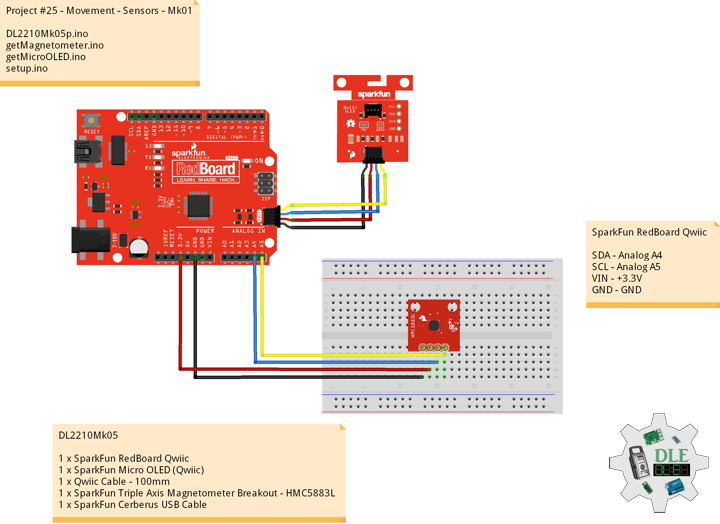
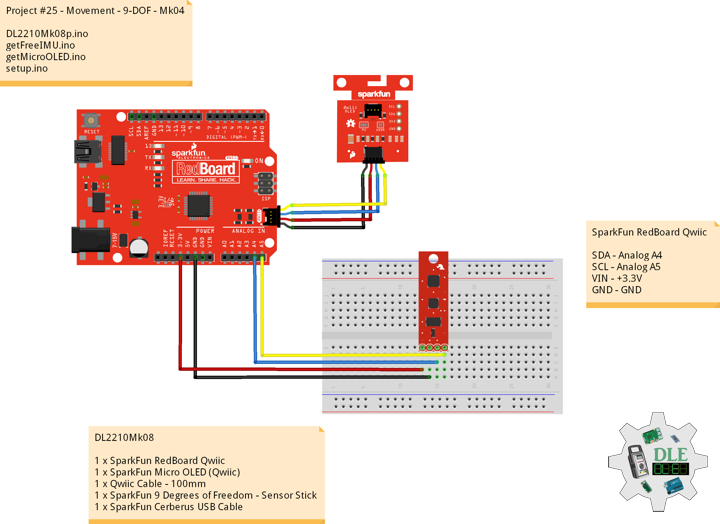
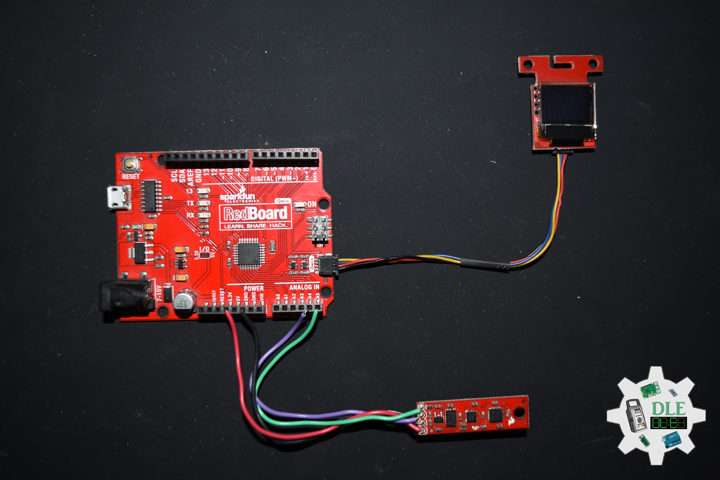
DL2210Mk08
1 x SparkFun RedBoard Qwiic
1 x SparkFun Micro OLED (Qwiic)
1 x Qwiic Cable – 100mm
1 x SparkFun 9 Degrees of Freedom – Sensor Stick
1 x SparkFun Cerberus USB Cable
SparkFun RedBoard Qwiic
SDA – Analog A4
SCL – Analog A5
VIN – +3.3V
GND – GND
——
DL2210Mk08p.ino
/* ***** Don Luc Electronics © *****
Software Version Information
Project #25 - Movement - 9-DOF - Mk04
25-04
DL2210Mk06p.ino
1 x SparkFun RedBoard Qwiic
1 x SparkFun Micro OLED (Qwiic)
1 x Qwiic Cable - 100mm
1 x SparkFun 9 Degrees of Freedom - Sensor Stick
1 x SparkFun Cerberus USB Cable
*/

// Include the Library Code
// Two Wire Interface (TWI/I2C)
#include <Wire.h>
// SparkFun Micro OLED
#include <SFE_MicroOLED.h>
// Includes and variables for IMU integration
// Accelerometer
#include <ADXL345.h>
// Magnetometer
#include <HMC58X3.h>
// MEMS Gyroscope
#include <ITG3200.h>
// Debug
#include "DebugUtils.h"
// FreeIMU
#include <CommunicationUtils.h>
#include <FreeIMU.h>

// Set the FreeIMU object
FreeIMU my3IMU = FreeIMU();

// Yaw Pitch Roll
float ypr[3];
float Yaw = 0;
float Pitch = 0;
float Roll = 0;

// SparkFun Micro OLED
#define PIN_RESET 9
#define DC_JUMPER 1
// I2C declaration
MicroOLED oled(PIN_RESET, DC_JUMPER);

// Software Version Information
String sver = "25-04";

void loop() {

  // isFreeIMU
  isFreeIMU();

  // Micro OLED
  isMicroOLED();

  // One delay in between reads
  delay(1000);

}
getFreeIMU.ino
// FreeIMU
// isFreeIMU
void isFreeIMU(){

  // FreeIMU
  // Yaw Pitch Roll
  my3IMU.getYawPitchRoll(ypr);
  // Yaw
  Yaw = ypr[0];
  // Pitch
  Pitch = ypr[1];
  // Roll
  Roll = ypr[2];

}
getMicroOLED.ino
// SparkFun Micro OLED
// Setup Micro OLED
void isSetupMicroOLED() {

  // Initialize the OLED
  oled.begin();
  // Clear the display's internal memory
  oled.clear(ALL);
  // Display what's in the buffer (splashscreen)
  oled.display();

  // Delay 1000 ms
  delay(1000);

  // Clear the buffer.
  oled.clear(PAGE);

}
// Micro OLED
void isMicroOLED() {

  // Text Display FreeIMU
  // Clear the display
  oled.clear(PAGE);
  // Set cursor to top-left
  oled.setCursor(0, 0);
  // Set font to type 0
  oled.setFontType(0);
  // FreeIMU
  oled.print("FreeIMU");
  oled.setCursor(0, 12);
  // Yaw
  oled.print("Y: ");
  oled.print(Yaw);
  oled.setCursor(0, 25);
  // Pitch
  oled.print("P: ");
  oled.print(Pitch);
  oled.setCursor(0, 39);
  // Roll
  oled.print("R: ");
  oled.print(Roll);
  oled.display();

}
setup.ino
// Setup
void setup() {

  // Give display time to power on
  delay(100);

  // Set up I2C bus
  Wire.begin();

  // Setup Micro OLED
  isSetupMicroOLED();

  // Pause
  delay(5);
  // Initialize IMU
  my3IMU.init();
  // Pause
  delay(5);

}
——
People can contact us: https://www.donluc.com/?page_id=1927
Technology Experience
- Single-Board Microcontrollers (PIC, Arduino, Raspberry Pi,Espressif, etc…)
- IoT
- Wireless (Radio Frequency, Bluetooth, WiFi, Etc…)
- Robotics
- Camera and Video Capture Receiver Stationary, Wheel/Tank and Underwater Vehicle
- Unmanned Vehicles Terrestrial and Marine
- Machine Learning
- RTOS
- Research & Development (R & D)
Instructor and E-Mentor
- IoT
- PIC Microcontrollers
- Arduino
- Raspberry Pi
- Espressif
- Robotics
Follow Us
Luc Paquin – Curriculum Vitae – 2022
https://www.donluc.com/luc/
Web: https://www.donluc.com/
Facebook: https://www.facebook.com/neosteam.labs.9/
YouTube: https://www.youtube.com/channel/UC5eRjrGn1CqkkGfZy0jxEdA
Twitter: https://twitter.com/labs_steam
Pinterest: https://www.pinterest.com/NeoSteamLabs/
Instagram: https://www.instagram.com/neosteamlabs/
Don Luc