Arduino
Arduino
Project #3 – LCD Shield – Mk4
1 X Mini Photocell
1 X Resistor 10k Ohm
1 X One Wire Digital Temperature Sensor – DS18B20
1 X Resistor 4.7k Ohm
1 X Trimpot 10K with Knob
1 X Resistor 1.65k Ohm
1 X 3MM Low Current Red LED
14 X Jumper Wires Premium 3″ M/M
1 X Project #3 – LED Shield – Mk3
LCDShieldMk4.3.ino
// ***** Don Luc ***** // Software Version Information // 4.3 // include the library code: #include <Wire.h> #include <Adafruit_MCP23017.h> #include <Adafruit_RGBLCDShield.h> #include <SPI.h> #include <RTClib.h> #include <RTC_DS3231.h> #include <OneWire.h> RTC_DS3231 RTC; #define SQW_FREQ DS3231_SQW_FREQ_1024 //0b00001000 1024Hz Adafruit_RGBLCDShield RGBLCDShield = Adafruit_RGBLCDShield(); // These #defines make it easy to set the backlight color #define OFF 0x0 #define RED 0x1 #define YELLOW 0x3 #define GREEN 0x2 #define TEAL 0x6 #define BLUE 0x4 #define VIOLET 0x5 #define WHITE 0x7 // Chorno boolean isChorno = false; char datastr[100]; // LDR (light dependent resistor) int LDR_Pin = A0; String LDR = ""; // Temperature chip i/o int DS18S20_Pin = 2; //DS18S20 Signal pin on digital 2 OneWire ds(DS18S20_Pin); // on digital pin 2 String tempZ = ""; // Potentiometer int potPin = A2; // select the input pin for the potentiometer int ledPin = 4; // select the pin for the LED boolean isVal = false; int potPot = 0; String cap = ""; void loop() { // timeChrono(); timeChrono(); uint8_t momentaryButton = RGBLCDShield.readButtons(); if ( momentaryButton ) { RGBLCDShield.clear(); RGBLCDShield.setCursor(0,0); if ( momentaryButton & BUTTON_UP ) { timeLDR(); RGBLCDShield.print( LDR ); RGBLCDShield.setBacklight(GREEN); } if ( momentaryButton & BUTTON_DOWN ) { temperatu(); RGBLCDShield.print( tempZ ); RGBLCDShield.setBacklight(RED); } if ( momentaryButton & BUTTON_LEFT ) { getPotentio(); RGBLCDShield.print( cap ); RGBLCDShield.setBacklight(BLUE); } if ( momentaryButton & BUTTON_RIGHT ) { RGBLCDShield.print("YELLOW - RIGHT"); RGBLCDShield.setBacklight(YELLOW); } if ( momentaryButton & BUTTON_SELECT ) { RGBLCDShield.print("OFF"); RGBLCDShield.setBacklight(OFF); } } delay(3000); }
setup.ino
void setup() { // set up the LCD's number of columns and rows: RGBLCDShield.begin(16, 2); RGBLCDShield.print("Don Luc!!!"); RGBLCDShield.setBacklight(VIOLET); // ChronoDot setupChrono(); // Pot pinMode(ledPin, OUTPUT); }
ChronoDot.ino
void setupChrono() { RTC.begin(); DateTime now = RTC.now(); DateTime compiled = DateTime(__DATE__, __TIME__); RTC.getControlRegisterData( datastr[0] ); } void timeChrono() { DateTime now = RTC.now(); DateTime isNow (now.unixtime() + 5572 * 86400L + 26980); // set the cursor to column 0, line 1 RGBLCDShield.setCursor(0, 1); if ( isChorno == false ) { isChorno = true; RGBLCDShield.print(isNow.year(), DEC); RGBLCDShield.print('/'); RGBLCDShield.print(isNow.month(), DEC); RGBLCDShield.print('/'); RGBLCDShield.print(isNow.day(), DEC); RGBLCDShield.print(' '); RGBLCDShield.print(' '); } else if ( isChorno == true ) { isChorno = false; RGBLCDShield.print(isNow.hour(), DEC); RGBLCDShield.print(':'); RGBLCDShield.print(isNow.minute(), DEC); RGBLCDShield.print(':'); RGBLCDShield.print(isNow.second(), DEC); RGBLCDShield.print(' '); RGBLCDShield.print(' '); } }
getLDR.ino
void timeLDR() { // LDR int LDRReading = analogRead(LDR_Pin); LDR = "LDR: "; LDR.concat(LDRReading); }
getPot.ino
void getPotentio() { if ( isVal == false ) { isVal = true; digitalWrite(ledPin, HIGH); // turn the ledPin on } else if ( isVal == true ) { isVal = false; digitalWrite(ledPin, LOW); // turn the ledPin off } potPot = analogRead(potPin); // read the value from the sensor cap = "Pot: "; cap.concat(potPot); }
getTemperature.ino
float getTemp() { //returns the temperature from one DS18S20 in DEG Celsius byte data[12]; byte addr[8]; if ( !ds.search(addr)) { //no more sensors on chain, reset search ds.reset_search(); return -1001; } if ( OneWire::crc8( addr, 7) != addr[7]) { return -1002; } if ( addr[0] != 0x10 && addr[0] != 0x28) { return -1003; } ds.reset(); ds.select(addr); ds.write(0x44,1); // start conversion, with parasite power on at the end byte present = ds.reset(); ds.select(addr); ds.write(0xBE); // Read Scratchpad for (int i = 0; i < 9; i++) { // we need 9 bytes data[i] = ds.read(); } ds.reset_search(); byte MSB = data[1]; byte LSB = data[0]; float tempRead = ((MSB << 8) | LSB); //using two's compliment float TemperatureSum = tempRead / 16; return TemperatureSum; } void temperatu(){ float temperature = getTemp(); tempZ = "Temp: "; tempZ.concat(temperature); tempZ.concat("C"); }
Don Luc
Project #3 – LCD Shield – Mk3
2 X Jumper Wires Premium 3″ M/M
1 X Project #3 – LED Shield – Mk2
LCDShieldMk3.0.ino
// ***** Don Luc ***** // Software Version Information // 3.0 // include the library code: #include <Wire.h> #include <Adafruit_MCP23017.h> #include <Adafruit_RGBLCDShield.h> #include <SPI.h> #include <RTClib.h> #include <RTC_DS3231.h> RTC_DS3231 RTC; #define SQW_FREQ DS3231_SQW_FREQ_1024 //0b00001000 1024Hz Adafruit_RGBLCDShield RGBLCDShield = Adafruit_RGBLCDShield(); // These #defines make it easy to set the backlight color #define OFF 0x0 #define RED 0x1 #define YELLOW 0x3 #define GREEN 0x2 #define TEAL 0x6 #define BLUE 0x4 #define VIOLET 0x5 #define WHITE 0x7 boolean isChorno = false; char datastr[100]; void loop() { // timeChrono(); timeChrono(); uint8_t momentaryButton = RGBLCDShield.readButtons(); if ( momentaryButton ) { RGBLCDShield.clear(); RGBLCDShield.setCursor(0,0); if ( momentaryButton & BUTTON_UP ) { RGBLCDShield.print("GREEN - UP"); RGBLCDShield.setBacklight(GREEN); } if ( momentaryButton & BUTTON_DOWN ) { RGBLCDShield.print("RED - DOWN"); RGBLCDShield.setBacklight(RED); } if ( momentaryButton & BUTTON_LEFT ) { RGBLCDShield.print("BLUE - LEFT"); RGBLCDShield.setBacklight(BLUE); } if ( momentaryButton & BUTTON_RIGHT ) { RGBLCDShield.print("YELLOW - RIGHT"); RGBLCDShield.setBacklight(YELLOW); } if ( momentaryButton & BUTTON_SELECT ) { RGBLCDShield.print("OFF"); RGBLCDShield.setBacklight(OFF); } } delay(3000); }
setup.ino
void setup() { // set up the LCD's number of columns and rows: RGBLCDShield.begin(16, 2); RGBLCDShield.print("Don Luc!!!"); RGBLCDShield.setBacklight(VIOLET); // ChronoDot setupChrono(); }
ChronoDot.ino
void setupChrono() { RTC.begin(); DateTime now = RTC.now(); DateTime compiled = DateTime(__DATE__, __TIME__); RTC.getControlRegisterData( datastr[0] ); } void timeChrono() { DateTime now = RTC.now(); DateTime isNow (now.unixtime() + 5572 * 86400L + 26980); // set the cursor to column 0, line 1 RGBLCDShield.setCursor(0, 1); if ( isChorno == false ) { isChorno = true; RGBLCDShield.print(isNow.year(), DEC); RGBLCDShield.print('/'); RGBLCDShield.print(isNow.month(), DEC); RGBLCDShield.print('/'); RGBLCDShield.print(isNow.day(), DEC); RGBLCDShield.print(' '); RGBLCDShield.print(' '); } else if ( isChorno == true ) { isChorno = false; RGBLCDShield.print(isNow.hour(), DEC); RGBLCDShield.print(':'); RGBLCDShield.print(isNow.minute(), DEC); RGBLCDShield.print(':'); RGBLCDShield.print(isNow.second(), DEC); RGBLCDShield.print(' '); RGBLCDShield.print(' '); } }
Don Luc
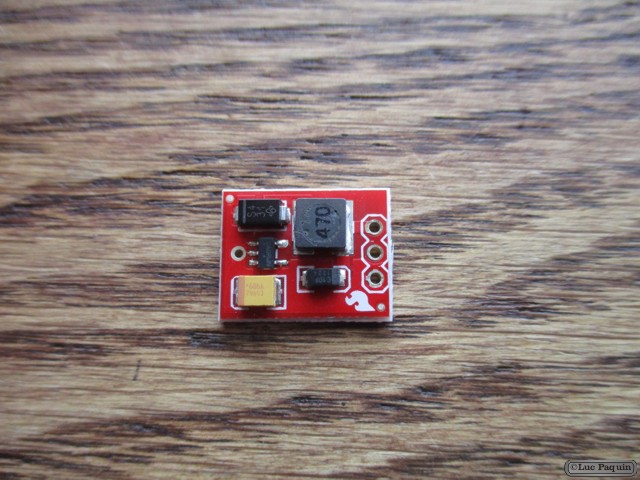
Project #3 – LCD Shield – Mk2
1 X ChronoDot
1 X ProtoScrewShield
1 X Breadboard
4 X Jumper Wires Premium 3″ M/M
1 X CR1632
1 X Project #3 – LED Shield – Mk1
LCDShieldMk2.2.ino
// ***** Don Luc ***** // Software Version Information // 2.2 // include the library code: #include <Wire.h> #include <Adafruit_MCP23017.h> #include <Adafruit_RGBLCDShield.h> Adafruit_RGBLCDShield RGBLCDShield = Adafruit_RGBLCDShield(); // These #defines make it easy to set the backlight color #define OFF 0x0 #define RED 0x1 #define YELLOW 0x3 #define GREEN 0x2 #define TEAL 0x6 #define BLUE 0x4 #define VIOLET 0x5 #define WHITE 0x7 uint8_t i = 0; void loop() { timeChrono(); uint8_t momentaryButton = RGBLCDShield.readButtons(); if ( momentaryButton ) { RGBLCDShield.clear(); RGBLCDShield.setCursor(0,0); if ( momentaryButton & BUTTON_UP ) { RGBLCDShield.print("GREEN - UP "); RGBLCDShield.setBacklight(GREEN); } if ( momentaryButton & BUTTON_DOWN ) { RGBLCDShield.print("RED - DOWN "); RGBLCDShield.setBacklight(RED); } if ( momentaryButton & BUTTON_LEFT ) { RGBLCDShield.print("BLUE - LEFT "); RGBLCDShield.setBacklight(BLUE); } if ( momentaryButton & BUTTON_RIGHT ) { RGBLCDShield.print("YELLOW - RIGHT "); RGBLCDShield.setBacklight(YELLOW); } if ( momentaryButton & BUTTON_SELECT ) { RGBLCDShield.print("OFF "); RGBLCDShield.setBacklight(OFF); } } delay(1000); }
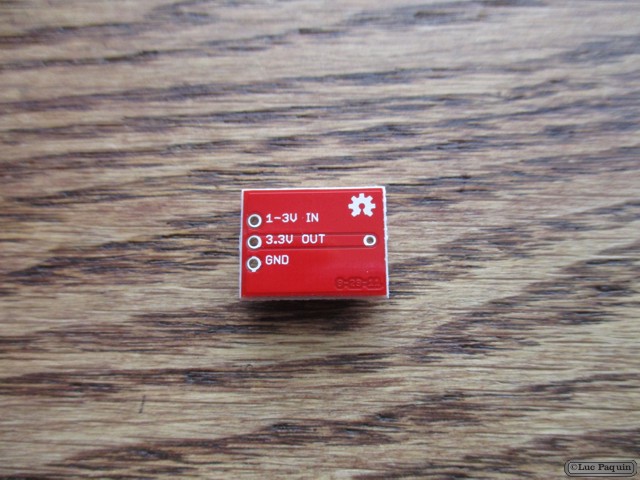
setup.ino
void setup() { // set up the LCD's number of columns and rows: RGBLCDShield.begin(16, 2); RGBLCDShield.print("Don Luc!!!"); RGBLCDShield.setBacklight(VIOLET); // ChronoDot setupChrono(); }
ChronoDot.ino
void setupChrono() { // clear /EOSC bit // Sometimes necessary to ensure that the clock // keeps running on just battery power. Wire.beginTransmission(0x68); // address DS3231 Wire.write(0x0E); // select register Wire.write(0b00011100); // write register bitmap, bit 7 is /EOSC Wire.endTransmission(); } void timeChrono() { // set the cursor to column 0, line 1 RGBLCDShield.setCursor(0, 1); // send request to receive data starting at register 0 Wire.beginTransmission(0x68); // 0x68 is DS3231 device address Wire.write((byte)0); // start at register 0 Wire.endTransmission(); Wire.requestFrom(0x68, 3); // request three bytes (seconds, minutes, hours) while(Wire.available()) { int seconds = Wire.read(); // get seconds int minutes = Wire.read(); // get minutes int hours = Wire.read(); // get hours seconds = (((seconds & 0b11110000)>>4)*10 + (seconds & 0b00001111)); // convert BCD to decimal minutes = (((minutes & 0b11110000)>>4)*10 + (minutes & 0b00001111)); // convert BCD to decimal hours = (((hours & 0b00100000)>>5)*20 + ((hours & 0b00010000)>>4)*10 + (hours & 0b00001111)); // convert BCD to decimal (assume 24 hour mode) // print the number of seconds since reset: RGBLCDShield.print(hours); RGBLCDShield.print(":"); RGBLCDShield.print(minutes); RGBLCDShield.print(":"); RGBLCDShield.print(seconds); } }
Don Luc
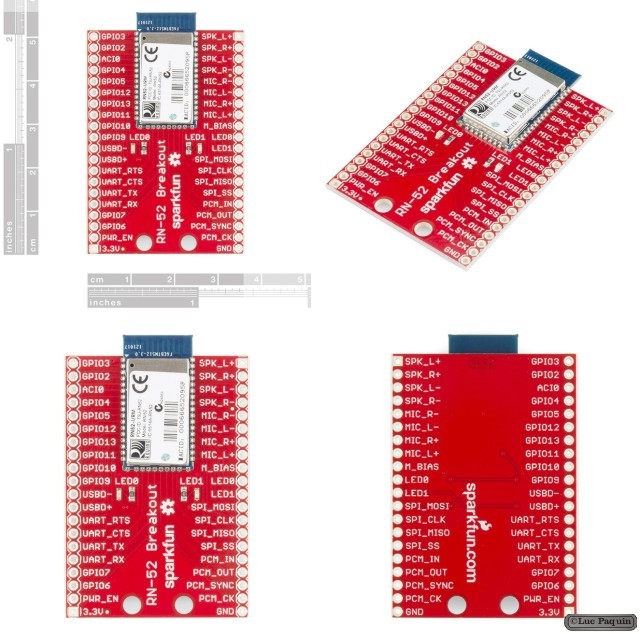
Project #3 – LCD Shield – Mk1
1 X Arduino UNO Rev3
1 X Adafruit I2C Controlled + Keypad Shield Kit for 16×2 LCD
1 X RGB backlight positive LCD 16×2 + extras – black on RGB
LCDShieldMk1.3.ino
// ***** Don Luc ***** // Software Version Information // 1.3 // include the library code: #include <Wire.h> #include <Adafruit_MCP23017.h> #include <Adafruit_RGBLCDShield.h> Adafruit_RGBLCDShield RGBLCDShield = Adafruit_RGBLCDShield(); // These #defines make it easy to set the backlight color #define OFF 0x0 #define RED 0x1 #define YELLOW 0x3 #define GREEN 0x2 #define TEAL 0x6 #define BLUE 0x4 #define VIOLET 0x5 #define WHITE 0x7 uint8_t i = 0; void loop() { // set the cursor to column 0, line 1 RGBLCDShield.setCursor(0, 1); // print the number of seconds since reset: RGBLCDShield.print(millis() / 1000); uint8_t momentaryButton = RGBLCDShield.readButtons(); if ( momentaryButton ) { RGBLCDShield.clear(); RGBLCDShield.setCursor(0,0); if ( momentaryButton & BUTTON_UP ) { RGBLCDShield.print("GREEN - UP "); RGBLCDShield.setBacklight(GREEN); } if ( momentaryButton & BUTTON_DOWN ) { RGBLCDShield.print("RED - DOWN "); RGBLCDShield.setBacklight(RED); } if ( momentaryButton & BUTTON_LEFT ) { RGBLCDShield.print("BLUE - LEFT "); RGBLCDShield.setBacklight(BLUE); } if ( momentaryButton & BUTTON_RIGHT ) { RGBLCDShield.print("YELLOW - RIGHT "); RGBLCDShield.setBacklight(YELLOW); } if ( momentaryButton & BUTTON_SELECT ) { RGBLCDShield.print("OFF "); RGBLCDShield.setBacklight(OFF); } } }
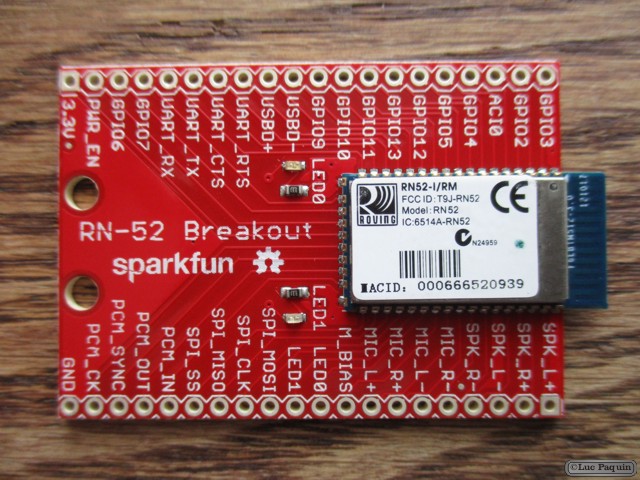
setup.ino
void setup() { // set up the LCD's number of columns and rows: RGBLCDShield.begin(16, 2); // We track how long it takes since int time = millis(); RGBLCDShield.print("Don Luc!!!"); time = millis() - time; RGBLCDShield.setBacklight(VIOLET); }
Don Luc
Project #2 – Lens – LED – Mk6
1 X Arduino Pro Mini 328 – 5V/16MHz
5 X Break Away Headers – Straight
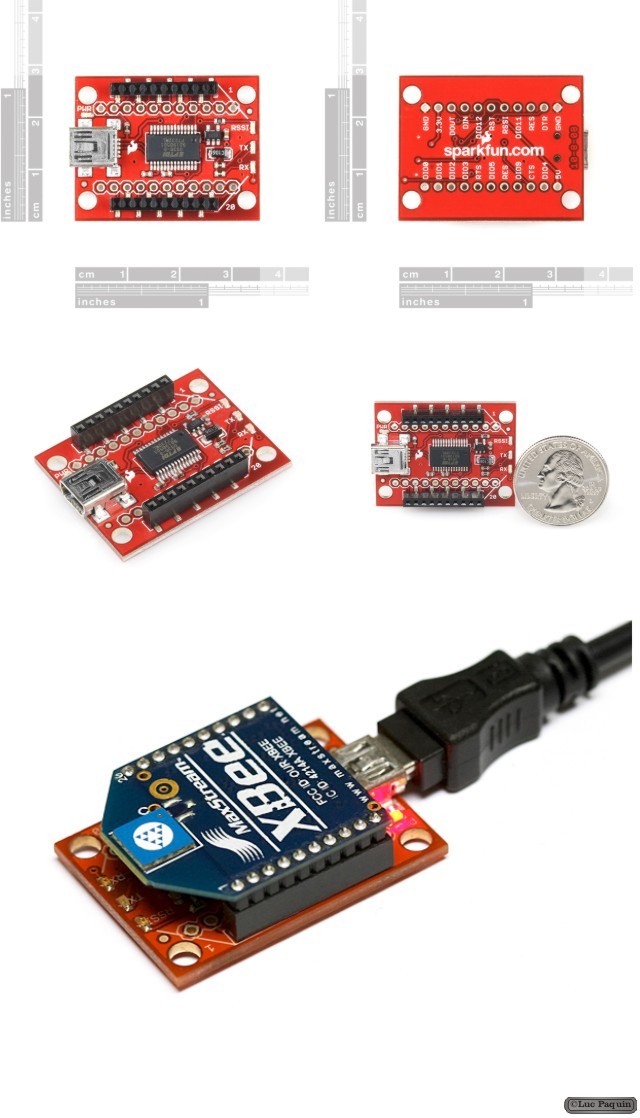
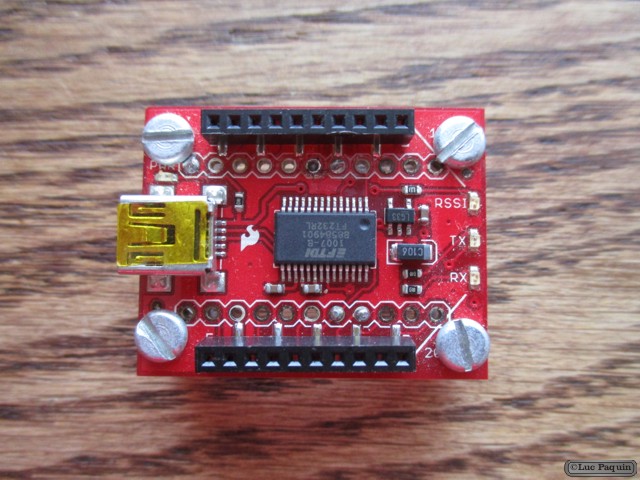
1 X FTDI Basic Breakout – 5V
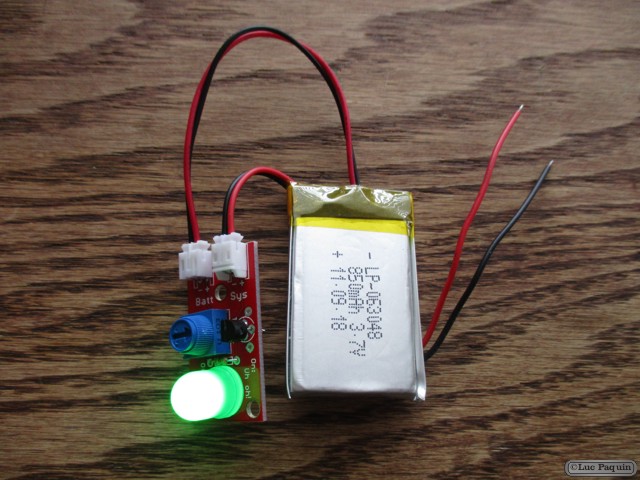
1 X USB LiPoly Charger – Single Cell
1 X Polymer Lithium Ion Battery – 400mAh
5 X Standoff – Nylon (3/8″, #4-40)
12 X Pan Head, Slotted Drive, #4-40 Thread Size, 1/4″ Length
2 X Nut – Nylon Locknut – #4-40
1 X SPDT Mini Power Switch
3 X Panel Mount 10K potentiometer (Breadboard Friendly) – 10K Linear
1 X Potentiometer Knob – Soft Touch T18 – Red
1 X Potentiometer Knob – Soft Touch T18 – Blue
1 X Potentiometer Knob – Soft Touch T18 – White
22 X Hook-Up Wire – Assortment (Solid Core, 22 AWG)
1 X Prototyping Board
1 X Project #2 – Lens – LED – Mk1
Don Luc
Project #2 – Lens – LED – Mk5
Project #2 – Lens – LED – Mk4
1 X Panel Mount 10K potentiometer (Breadboard Friendly) – 10K Linear
3 X Jumper Wires Premium 6″ M/M
1 X Project #2 – Lens – LED – Mk3
LensLEDMk4.3.ino
// ***** Don Luc ***** // Software Version Information // 4.1 - 4.2 - 4.3 // sensorNumber #include // Which pin on the Arduino is connected to the NeoPixels? #define PIN 6 // How many NeoPixels are attached to the Arduino? #define NUMPIXELS 2 Adafruit_NeoPixel pixels = Adafruit_NeoPixel(NUMPIXELS, PIN, NEO_GRB + NEO_KHZ800); // Panel Mount 1K potentiometer Brightneed const int sensorPin = A0; // Panel Mount 1K potentiometer const int sensorDelay = A1; // Panel Mount 1K potentiometer const int sensorNumber = A2; // variables: int sensorValue = 0; // the sensor value int sensorMin = 1023; // minimum sensor value int sensorMax = 0; // maximum sensor value int red = 0; int green = 0; int blue = 0; int x = 0; long delayVal = 0; long xp = 0; int y = 0; int z = 0; void loop() { z = analogRead(sensorNumber); y = (z / 127); // range value: switch (y) { case 0: // Blue red = 0; green = 102; blue = 204; neopix(); break; case 1: // Yellow red = 255; green = 255; blue = 0; neopix(); break; case 2: // Pink red = 255; green = 153; blue = 203; neopix(); break; case 3: // White red = 255; green = 255; blue = 255; neopix(); break; case 4: // Green red = 0; green = 255; blue = 0; neopix(); break; case 5: // Orange red = 255; green = 102; blue = 0; neopix(); break; case 6: // Violet red = 204; green = 102; blue = 204; neopix(); break; case 7: xp = analogRead(sensorDelay); delayVal = (1000 * xp); // range value: switch (x) { case 0: // Blue red = 0; green = 102; blue = 204; neopix(); delay(delayVal); // Delay for a period of time (in milliseconds). x = 1; break; case 1: // Yellow red = 255; green = 255; blue = 0; neopix(); delay(delayVal); // Delay for a period of time (in milliseconds). x = 2; break; case 2: // Pink red = 255; green = 153; blue = 203; neopix(); delay(delayVal); // Delay for a period of time (in milliseconds). x = 3; break; case 3: // White red = 255; green = 255; blue = 255; neopix(); delay(delayVal); // Delay for a period of time (in milliseconds). x = 4; break; case 4: // Green red = 0; green = 255; blue = 0; neopix(); delay(delayVal); // Delay for a period of time (in milliseconds). x = 5; break; case 5: // Orange red = 255; green = 102; blue = 0; neopix(); delay(delayVal); // Delay for a period of time (in milliseconds). x = 6; break; case 6: // Violet red = 204; green = 102; blue = 204; neopix(); delay(delayVal); // Delay for a period of time (in milliseconds). x = 0; break; } break; } }
neopin.ino
void neopix() { for(int i=0; i<NUMPIXELS; i++){ // read the sensor: sensorValue = analogRead(sensorPin); // apply the calibration to the sensor reading sensorValue = map(sensorValue, sensorMin, sensorMax, 0, 255); // in case the sensor value is outside the range seen during calibration sensorValue = constrain(sensorValue, 0, 255); // pixels.Color takes RGB values, from 0,0,0 up to 255,255,255 pixels.setBrightness( sensorValue ); pixels.setPixelColor(i, pixels.Color(red,green,blue)); pixels.show(); // This sends the updated pixel color to the hardware. delay(50); // Delay for a period of time (in milliseconds). } }
setup.ino
void setup() { pixels.begin(); // This initializes the NeoPixel library. }
Don Luc
Project #2 – Lens – LED – Mk3
1 X Arduino and Breadboard Holder
1 X Breadboard – Translucent Self-Adhesive (Clear)
1 X Arduino UNO Rev3
2 X Panel Mount 10K potentiometer (Breadboard Friendly) – 10K Linear
13 X Jumper Wires Premium 6″ M/M
1 X Cable
1 X Project #2 – Lens – LED – Mk1
LensLEDMk3.3.ino
// ***** Don Luc ***** // Software Version Information // 3.0 // Real // 3.1 // sensorValue // 3.2 // red, green, blue // 3.3 // delayVal #include <Adafruit_NeoPixel.h> // Which pin on the Arduino is connected to the NeoPixels? #define PIN 6 // How many NeoPixels are attached to the Arduino? #define NUMPIXELS 2 Adafruit_NeoPixel pixels = Adafruit_NeoPixel(NUMPIXELS, PIN, NEO_GRB + NEO_KHZ800); // Panel Mount 1K potentiometer Brightneed const int sensorPin = A0; // Panel Mount 1K potentiometer const int sensorDelay = A1; // variables: int sensorValue = 0; // the sensor value int sensorMin = 1023; // minimum sensor value int sensorMax = 0; // maximum sensor value int red = 0; int green = 0; int blue = 0; int x = 0; long delayVal = 0; long xp = 0; void loop() { xp = analogRead(sensorDelay); delayVal = (20000 + xp); // range value: switch (x) { case 0: // Blue red = 0; green = 102; blue = 204; neopix(); delay(delayVal); // Delay for a period of time (in milliseconds). x = 1; break; case 1: // Yellow red = 255; green = 255; blue = 0; neopix(); delay(delayVal); // Delay for a period of time (in milliseconds). x = 2; break; case 2: // Pink red = 255; green = 153; blue = 203; neopix(); delay(delayVal); // Delay for a period of time (in milliseconds). x = 3; break; case 3: // White red = 255; green = 255; blue = 255; neopix(); delay(delayVal); // Delay for a period of time (in milliseconds). x = 4; break; case 4: // Green red = 0; green = 255; blue = 0; neopix(); delay(delayVal); // Delay for a period of time (in milliseconds). x = 5; break; case 5: // Orange red = 255; green = 102; blue = 0; neopix(); delay(delayVal); // Delay for a period of time (in milliseconds). x = 6; break; case 6: // Violet red = 204; green = 102; blue = 204; neopix(); delay(delayVal); // Delay for a period of time (in milliseconds). x = 0; break; } }
neopin.ino
void neopix() { for(int i=0; isetup.ino
void setup() { pixels.begin(); // This initializes the NeoPixel library. }Don Luc
Project #2 – Lens – LED – Mk2
1 X Arduino UNO Rev3
1 X Cable
1 X Project #2 – Lens – LED – Mk1
LensLEDMk2.1.ino
// ***** Don Luc ***** // Software Version Information // 2.1 #include <Adafruit_NeoPixel.h> // Which pin on the Arduino is connected to the NeoPixels? #define PIN 6 // How many NeoPixels are attached to the Arduino? #define NUMPIXELS 2 Adafruit_NeoPixel pixels = Adafruit_NeoPixel(NUMPIXELS, PIN, NEO_GRB + NEO_KHZ800); int delayval = 500; // delay for half a second void loop() { for(int i=0;i<NUMPIXELS;i++){ // pixels.Color takes RGB values, from 0,0,0 up to 255,255,255 pixels.setBrightness(125); pixels.setPixelColor(i, pixels.Color(50,150,50)); // Moderately bright green color. pixels.show(); // This sends the updated pixel color to the hardware. delay(delayval); // Delay for a period of time (in milliseconds). } }
setup.ino
void setup() { pixels.begin(); // This initializes the NeoPixel library. }
Don Luc