
Adafruit: 716
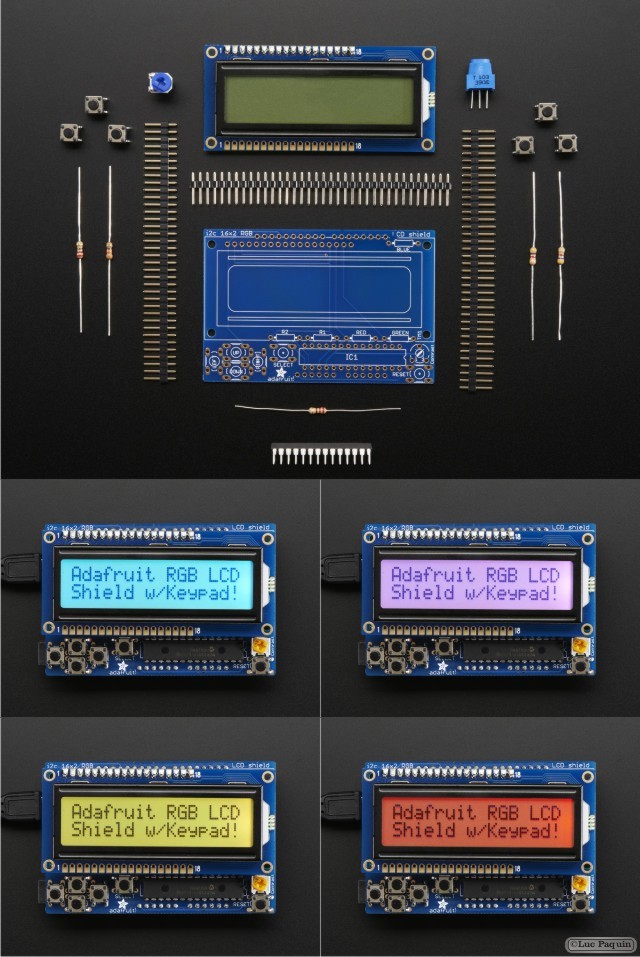
Description
This new Adafruit shield makes it easy to use a 16×2 Character LCD. We really like the RGB LCDs we stock in the shop both the RGB negative and RGB positive. Unfortunately, these LCDs do require quite a few digital pins, 6 to control the LCD and then another 3 to control the RGB backlight for a total of 9 pins. That’s half of the pins available on a classic Arduino!
With this in mind, we wanted to make it easier for people to get these LCD into their projects so we devised a shield that lets you control a 16×2 Character LCD, up to 3 backlight pins AND 5 keypad pins using only the two I2C pins on the Arduino! The best part is you don’t really lose those two pins either, since you can stick i2c-based sensors, RTCs, etc and have them share the I2C bus. This is a super slick way to add a display without all the wiring hassle.
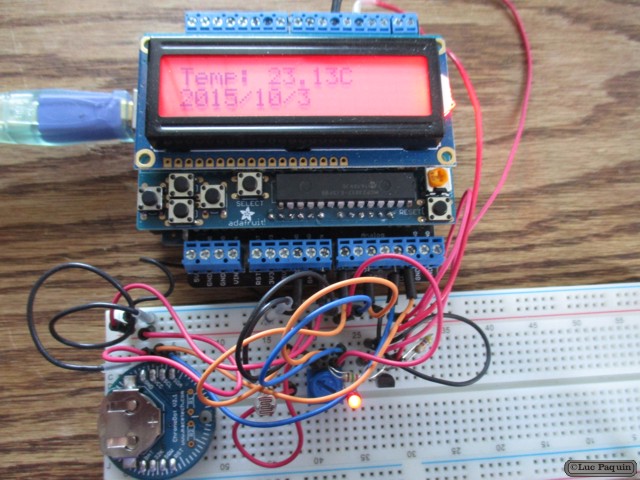
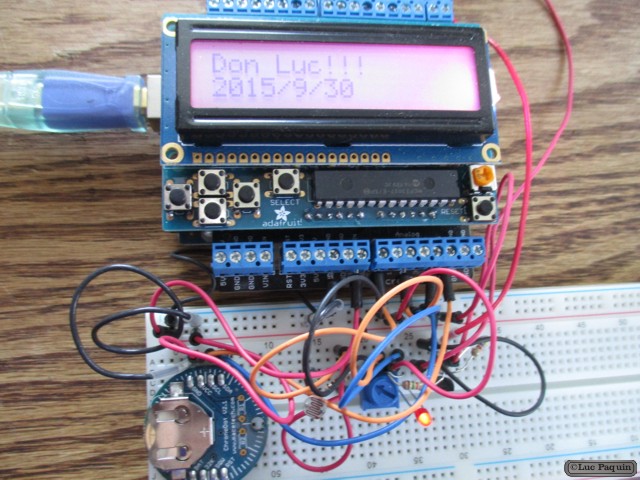
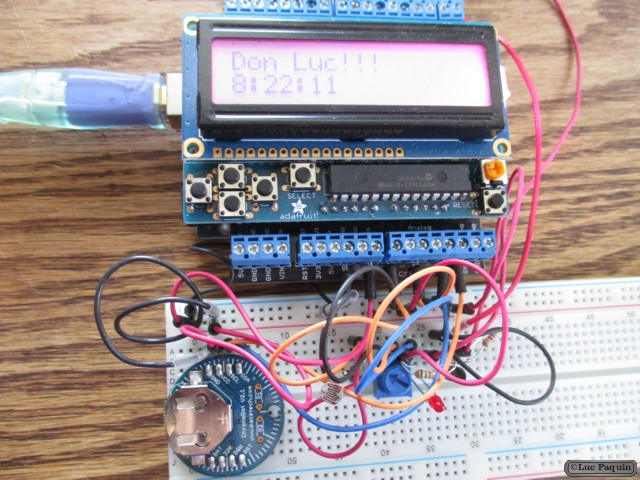
This shield is perfect for when you want to build a stand-alone project with its own user interface. The 4 directional buttons plus select button allows basic control without having to attach a bulky computer.
The shield is designed for ‘classic’ Arduinos such as the Uno, Duemilanove, Diecimilla, etc. It uses the I2C pins at Analog 4 and Analog 5. It will also work perfectly with Arduino Mega R3’s which have the extra SDA/SCL I2C pins broken out. Earlier Mega’s have the I2C pins in a different location and will require you to solder two wires from the I2C pins on the shield and plug them into the different I2C locations at Digital 20 & 21. This shield will not fit easily on top of an Arduino Ethernet because of the Ethernet jack height. You can use a set of stacking headers to give the shield more ‘lift’ above the jack.
This product comes as a kit! Included is a high quality, USA-made PCB and all the components (buttons, header etc). This product comes with a 16×2 RGB positive. Assembly is easy, even if you’ve never soldered before and the kit can be completed in 30 minutes. Check the product tutorial page for assembly instructions before purchasing
Of course, we even wrote an easy-to-use Arduino library that you can easily add to your project. It acts just like the built in LiquidCrystal library, but automatically uses the shield pins. You can also easily query the 5 keypad buttons to get input through the library, so you get extra buttons without using any more pins. The buttons are automatically de-bounced inside the library.
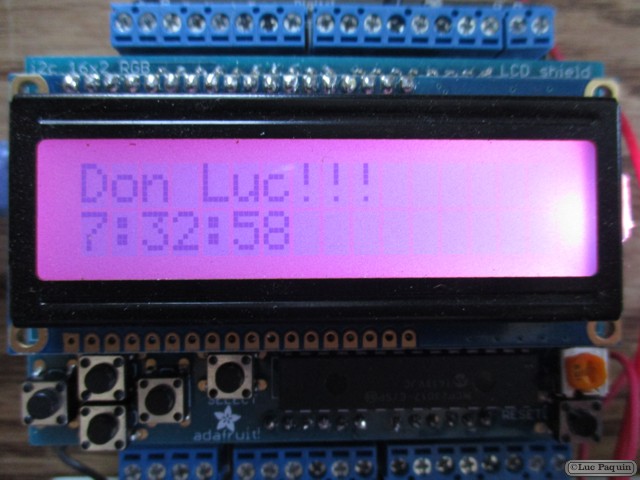
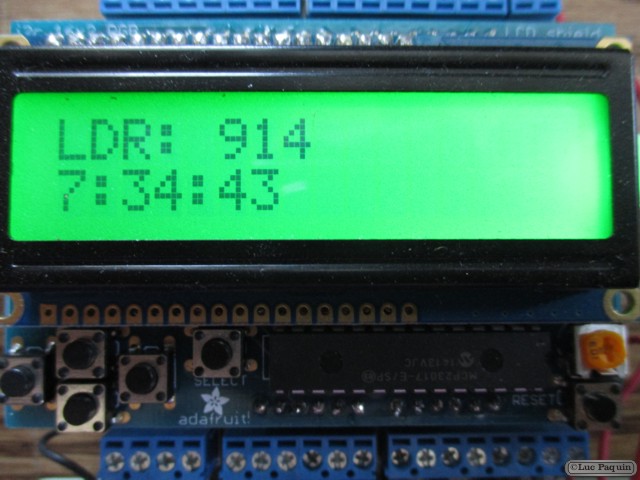
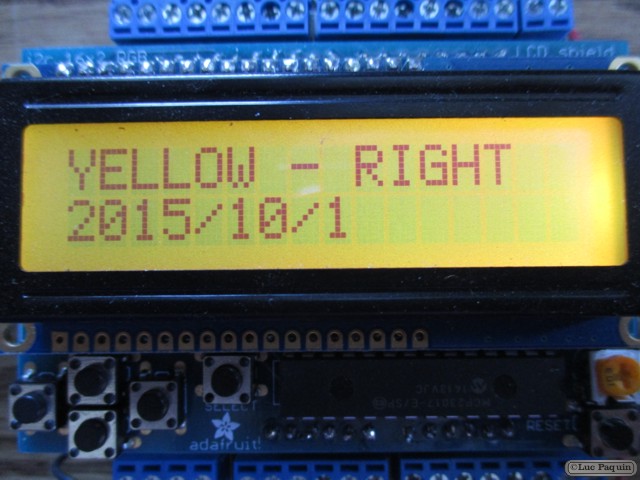
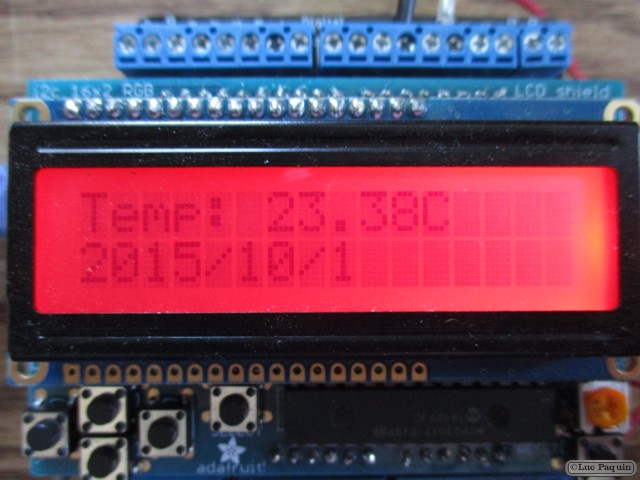
At this time, the library and shield can control the RGB backlight of our character LCDs by turning each LED on or off. This means you can display the following colors: Red, Yellow, Green, Teal, Blue, Violet, White and all off. There is no support for PWM control of the backlight at this time, so if you need to have more granular control of the RGB backlight to display a larger range of colors, this shield can’t do that (the I2C expander does not have PWM output).
Technical Details
- Dimensions: 2.1″ x 3.2″
- Comes with a 16×2 RGB backlight LCD, positive display
- Plug and play with any Arduino ‘classic’ – UNO, duemilanove, diecimilla, etc as well as Arduino Mega R3.
- Uses only the I2C pins – Analog 4 & 5 on classic Arduinos, Digital 20 and 21 on Arduino Mega R3
- This board/chip uses I2C 7-bit address 0x20
- Mounting hole size is 2.5mm
Don Luc